Connecting IoT devices to your Mac using SSH is an essential skill for tech enthusiasts, developers, and IT professionals alike. Whether you're managing smart home devices, industrial sensors, or personal projects, SSH (Secure Shell) offers a secure way to interact with IoT devices remotely. By leveraging your Mac's built-in tools and understanding the underlying principles, you can streamline device management and ensure robust security. This guide will walk you through everything you need to know about connecting IoT devices via SSH on Mac, from basic concepts to advanced configurations.
As IoT ecosystems grow in complexity, having a reliable method to manage devices becomes critical. SSH not only allows you to execute commands on remote devices but also ensures encrypted communication, protecting sensitive data from potential threats. With macOS offering native support for SSH, you can harness its power without needing third-party software. This article will delve into the tools, techniques, and troubleshooting tips to help you master the process of connecting IoT devices via SSH on your Mac.
Whether you're a beginner or an experienced user, understanding how to connect IoT devices via SSH on Mac can elevate your workflow. From configuring SSH keys for passwordless authentication to troubleshooting common issues, we'll cover all aspects to ensure you're equipped with the knowledge you need. Let’s dive into the details and explore how you can optimize your IoT management strategy while maintaining a secure environment.
Read also:Unveiling The Mysteries Chinese Horoscope 1984 A Deep Dive Into The Year Of The Wood Rat
Table of Contents
- What Are the Basics of Connecting IoT Devices via SSH on Mac?
- How to Set Up SSH on Your Mac for IoT Connections?
- Why Is SSH Key Authentication Important for IoT Security?
- Tools and Software to Enhance SSH IoT Connectivity
- What Are the Common Issues When Connecting IoT via SSH on Mac?
- How to Troubleshoot SSH Connection Problems with IoT Devices?
- Best Practices for Managing IoT Devices via SSH on Mac
- FAQs About Connecting IoT Devices via SSH on Mac
What Are the Basics of Connecting IoT Devices via SSH on Mac?
Before diving into the technicalities, it's crucial to understand the foundational concepts of SSH and its role in IoT management. SSH, or Secure Shell, is a cryptographic network protocol that allows secure communication between two devices over an unsecured network. When applied to IoT devices, SSH enables you to remotely access and control these devices from your Mac, ensuring data integrity and confidentiality.
To connect IoT devices via SSH on Mac, you'll need the IP address of the IoT device, the SSH port (commonly 22), and valid credentials (username and password or SSH key). Here’s a step-by-step breakdown:
- Enable SSH on the IoT Device: Most IoT devices come with SSH disabled by default. Check the device's documentation to learn how to enable it. This often involves accessing the device's settings via a web interface or mobile app.
- Find the Device's IP Address: Use your router's admin panel or a network scanning tool like Nmap to identify the IoT device's IP address on your network.
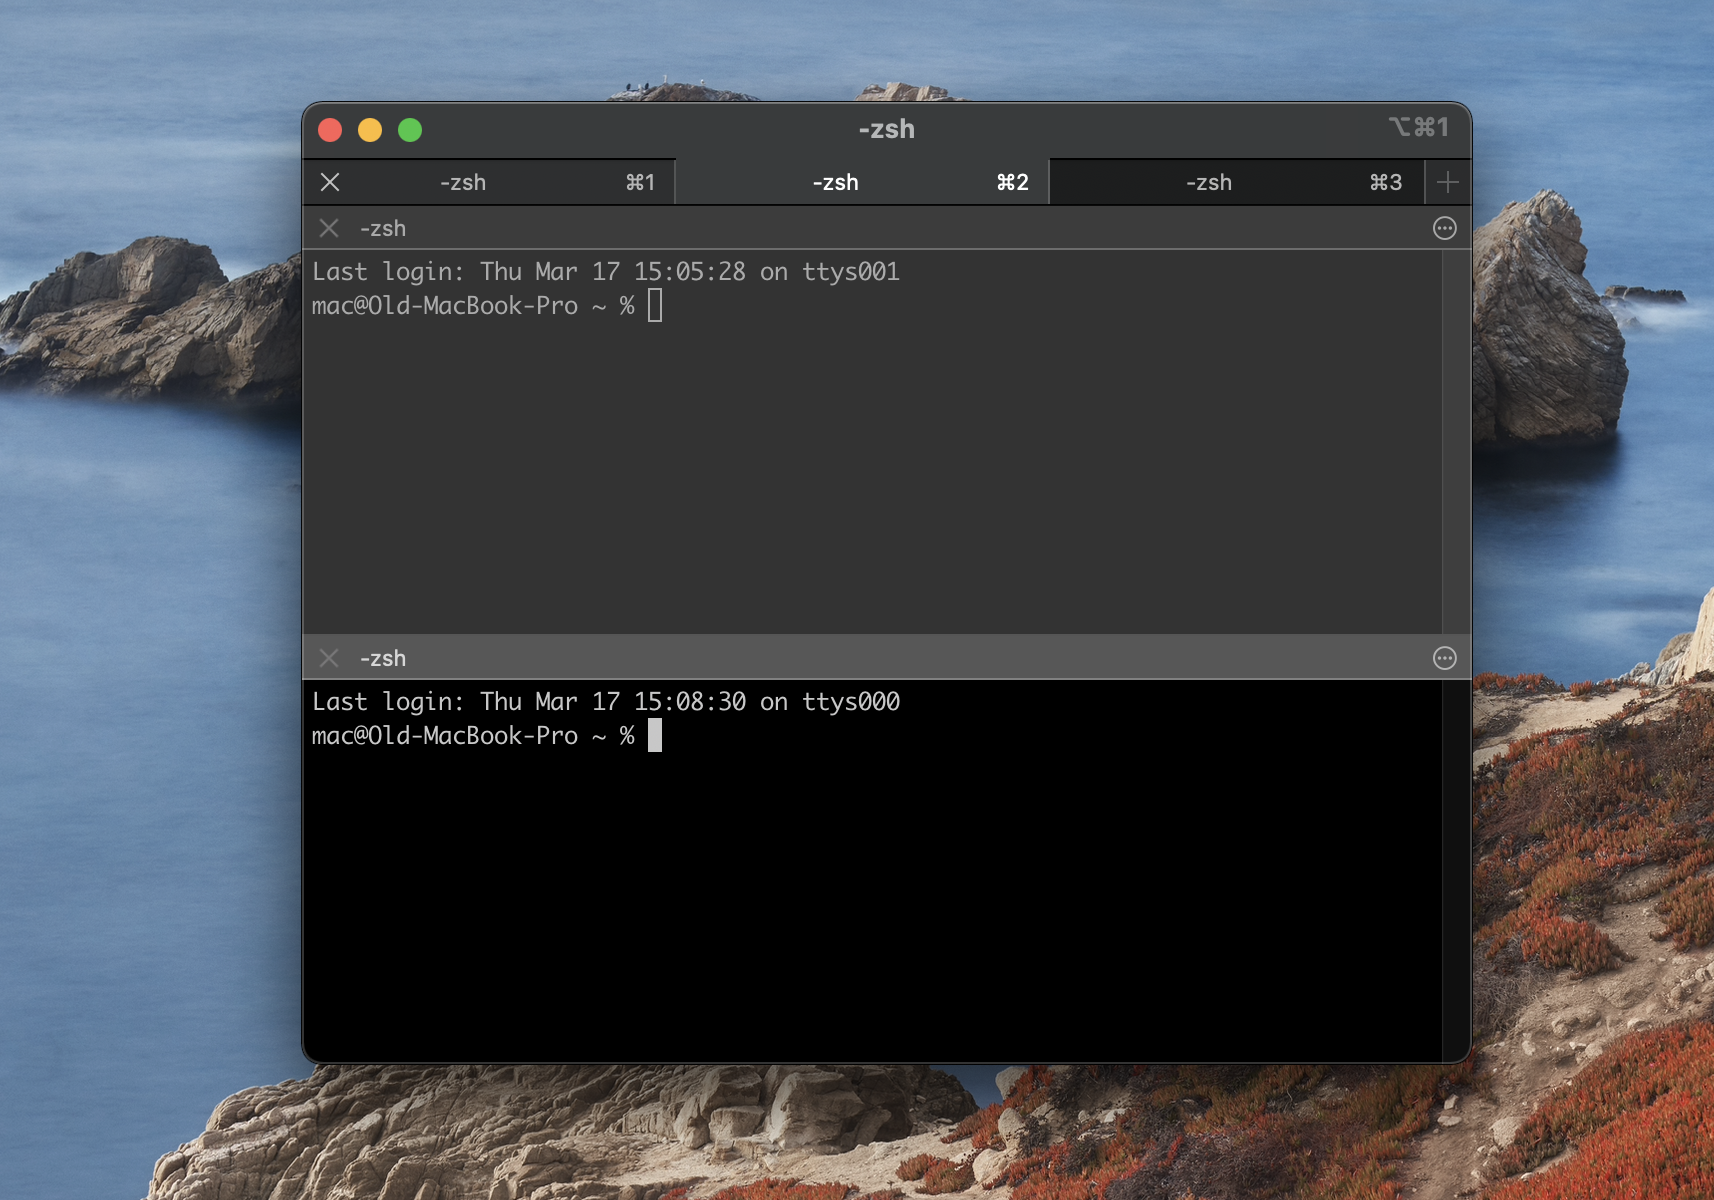
- Open Terminal on Your Mac: macOS comes with a built-in terminal application that you can use to initiate SSH connections. Simply press
Command + Space, type "Terminal," and hit Enter. - Establish the Connection: Use the command
ssh username@ip_addressin the terminal, replacing "username" and "ip_address" with the appropriate values. For example:ssh pi@192.168.1.100.
How Does SSH Work in IoT Environments?
SSH operates by encrypting all data transmitted between your Mac and the IoT device. This encryption prevents unauthorized access and ensures that commands and data remain confidential. When you initiate an SSH connection, your Mac and the IoT device perform a handshake process to establish a secure channel. This process involves exchanging cryptographic keys to verify identities and encrypt the session.
What Are the Benefits of Using SSH for IoT Management?
- Security: SSH encrypts all communication, protecting sensitive data from interception.
- Remote Access: Manage IoT devices from anywhere, provided you have network access.
- Automation: Use scripts to automate tasks like firmware updates or configuration changes.
How to Set Up SSH on Your Mac for IoT Connections?
Setting up SSH on your Mac is straightforward, thanks to macOS's native support for the protocol. However, ensuring a seamless setup requires attention to detail. Follow these steps to configure your Mac for connecting IoT devices via SSH:
Step 1: Verify SSH Installation
macOS comes with SSH pre-installed, but it’s always good to confirm its presence. Open Terminal and type:
ssh -VThis command will display the version of SSH installed on your system. If SSH isn't installed (which is rare), you can install it using Homebrew:
Read also:Innovative Ways To Achieve Slope Unblock Success
brew install opensshStep 2: Configure SSH Keys for Authentication
SSH keys provide a secure and convenient way to authenticate without entering passwords repeatedly. To generate an SSH key pair, use the following command:
ssh-keygen -t rsa -b 4096This will create a public and private key pair. Store the private key securely and copy the public key to your IoT device using:
ssh-copy-id username@ip_addressStep 3: Test the Connection
Once everything is set up, test the connection by running:
ssh username@ip_addressIf successful, you'll be logged into the IoT device's terminal interface.
Why Is SSH Key Authentication Important for IoT Security?
SSH key authentication is a cornerstone of secure IoT management. Unlike passwords, which can be guessed or brute-forced, SSH keys are virtually impossible to crack due to their complexity. Here's why SSH keys are essential:
- Enhanced Security: SSH keys use asymmetric encryption, making them far more secure than traditional passwords.
- Convenience: Once configured, SSH keys eliminate the need to enter passwords for every connection.
- Scalability: Managing multiple IoT devices becomes easier with key-based authentication.
How to Protect Your SSH Keys?
While SSH keys are secure, they must be protected to prevent unauthorized access. Here are some best practices:
- Use Strong Passphrases: Protect your private key with a strong passphrase.
- Limit Key Permissions: Ensure only you have access to the private key file.
- Disable Password Authentication: Once SSH keys are set up, disable password-based login on the IoT device to reduce attack vectors.
Tools and Software to Enhance SSH IoT Connectivity
While macOS's Terminal is sufficient for basic SSH connections, additional tools can enhance your experience when managing IoT devices. Here are some popular options:
1. PuTTY for Mac
PuTTY is a widely-used SSH client that offers a graphical interface for managing connections. It’s particularly useful for users who prefer a visual approach over command-line interactions.
2. Cyberduck
Cyberduck is a versatile file transfer tool that supports SSH connections. It’s ideal for transferring files between your Mac and IoT devices securely.
3. MobaXterm
MobaXterm provides an all-in-one solution for remote computing, including SSH, SFTP, and terminal multiplexing. It’s a powerful tool for managing multiple IoT devices simultaneously.
What Are the Common Issues When Connecting IoT via SSH on Mac?
Despite its simplicity, connecting IoT devices via SSH on Mac can sometimes present challenges. Here are some common issues and their causes:
- Incorrect IP Address: Ensure the IP address of the IoT device is accurate and hasn’t changed due to DHCP.
- Firewall Restrictions: Check if your firewall is blocking SSH traffic on port 22.
- SSH Service Not Running: Verify that the SSH service is enabled on the IoT device.
How to Troubleshoot SSH Connection Problems with IoT Devices?
Troubleshooting SSH issues requires a systematic approach. Here’s a step-by-step guide:
Step 1: Verify Network Connectivity
Use the ping command to ensure your Mac can communicate with the IoT device:
ping ip_addressStep 2: Check SSH Service Status
Access the IoT device's interface to confirm that SSH is enabled and running.
Step 3: Review Logs
Check the SSH logs on both your Mac and the IoT device for error messages:
tail -f /var/log/auth.logBest Practices for Managing IoT Devices via SSH on Mac
To ensure a smooth and secure IoT management experience, follow these best practices:
- Regularly Update Firmware: Keep your IoT devices updated to patch vulnerabilities.
- Use Strong Credentials: Avoid default usernames and passwords.
- Monitor Network Traffic: Use tools like Wireshark to detect suspicious activity.
FAQs About Connecting IoT Devices via SSH on Mac
How Can I Connect IoT Devices via SSH on Mac Without a Password?
Use SSH key authentication by generating a key pair and copying the public key to the IoT device. This eliminates the need for passwords.
What Should I Do If My SSH Connection Times Out?
Check your network settings, ensure the IoT device is powered on, and verify that the SSH service is running.
Can I Use SSH to Transfer Files Between My Mac and IoT Devices?
Yes, you can use SFTP (Secure File Transfer Protocol) for secure file transfers over SSH.
In conclusion, mastering how to connect IoT devices via SSH on Mac empowers you to manage your devices securely and efficiently. By following the steps and best practices outlined in this guide, you can ensure a seamless experience while safeguarding your IoT ecosystem. Happy connecting!